Floral Tips from The Bloom Room
5 Top tips for working with floral foam
Sure! Floral foam is a great tool for arranging flowers, but it can be a bit tricky to work with. Here are five tips to help you get the best results:
- Soak Properly: Always soak your floral foam in water before using it. This helps the foam absorb water evenly, which is crucial for keeping your flowers hydrated. Do not force it into the water; let it sink slowly to avoid creating air pockets that can dry out the flowers.
- Cut with Care: Use a serrated knife or a floral foam cutter to cut the foam. This will give you cleaner edges and prevent the foam from crumbling too much. Cut the foam to fit your container snugly, but avoid pressing too hard to prevent the foam from breaking apart.
- Secure the Foam: Once cut, make sure the foam is securely placed in your container. You can use floral tape or hot glue to keep it in place. This will help stabilize the foam and prevent it from shifting while you’re arranging your flowers.
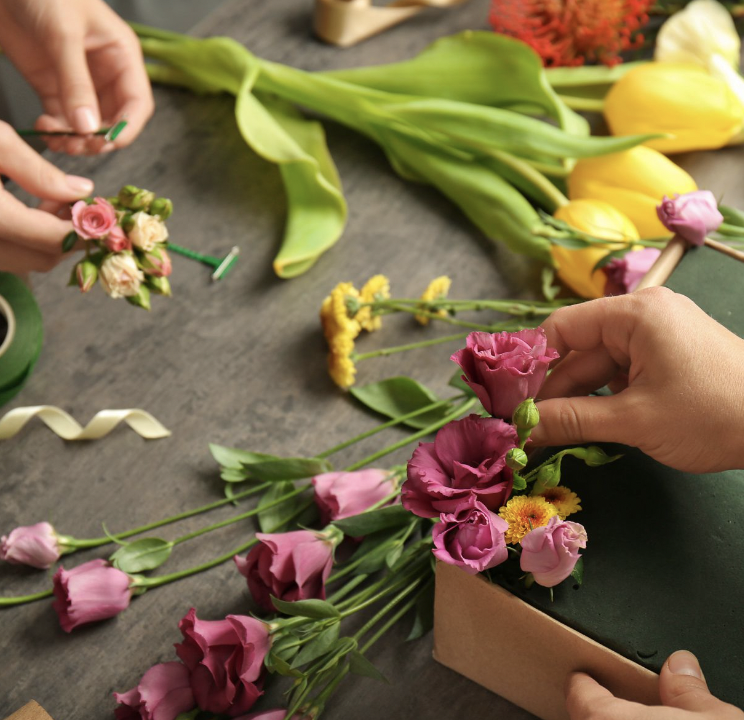
- Use Floral Picks: For heavier flowers or for extra support, use floral picks or wires to secure your flowers in the foam. This helps keep the stems in place and ensures they stay fresh longer. Insert the picks into the foam first, then insert the flower stems into the picks.
- Keep It Moist: Regularly check the moisture level of the floral foam, especially if you’re working on an arrangement that will be displayed for an extended period. If the foam begins


Getting started with floral arranging
A great way to get inspired with flowers
Getting started with flower arranging is a fun and rewarding way to explore your creativity. Here’s a simple guide to help you begin:
- Gather Your Supplies: Essential tools include floral shears, a vase or floral foam, floral tape or wire, and a water source. You’ll also need a selection of fresh flowers and greenery.
- Choose Your Flowers: Start with a mix of flowers in different shapes, sizes, and colors. Popular choices for beginners include roses, lilies, and carnations.
- Prepare Your Flowers: Trim stems at an angle and remove any leaves that will be below the waterline. This helps the flowers absorb water better and stay fresh longer.
- Plan Your Design: Decide on the style of your arrangement, such as a round bouquet, a cascading design, or a minimalist arrangement.
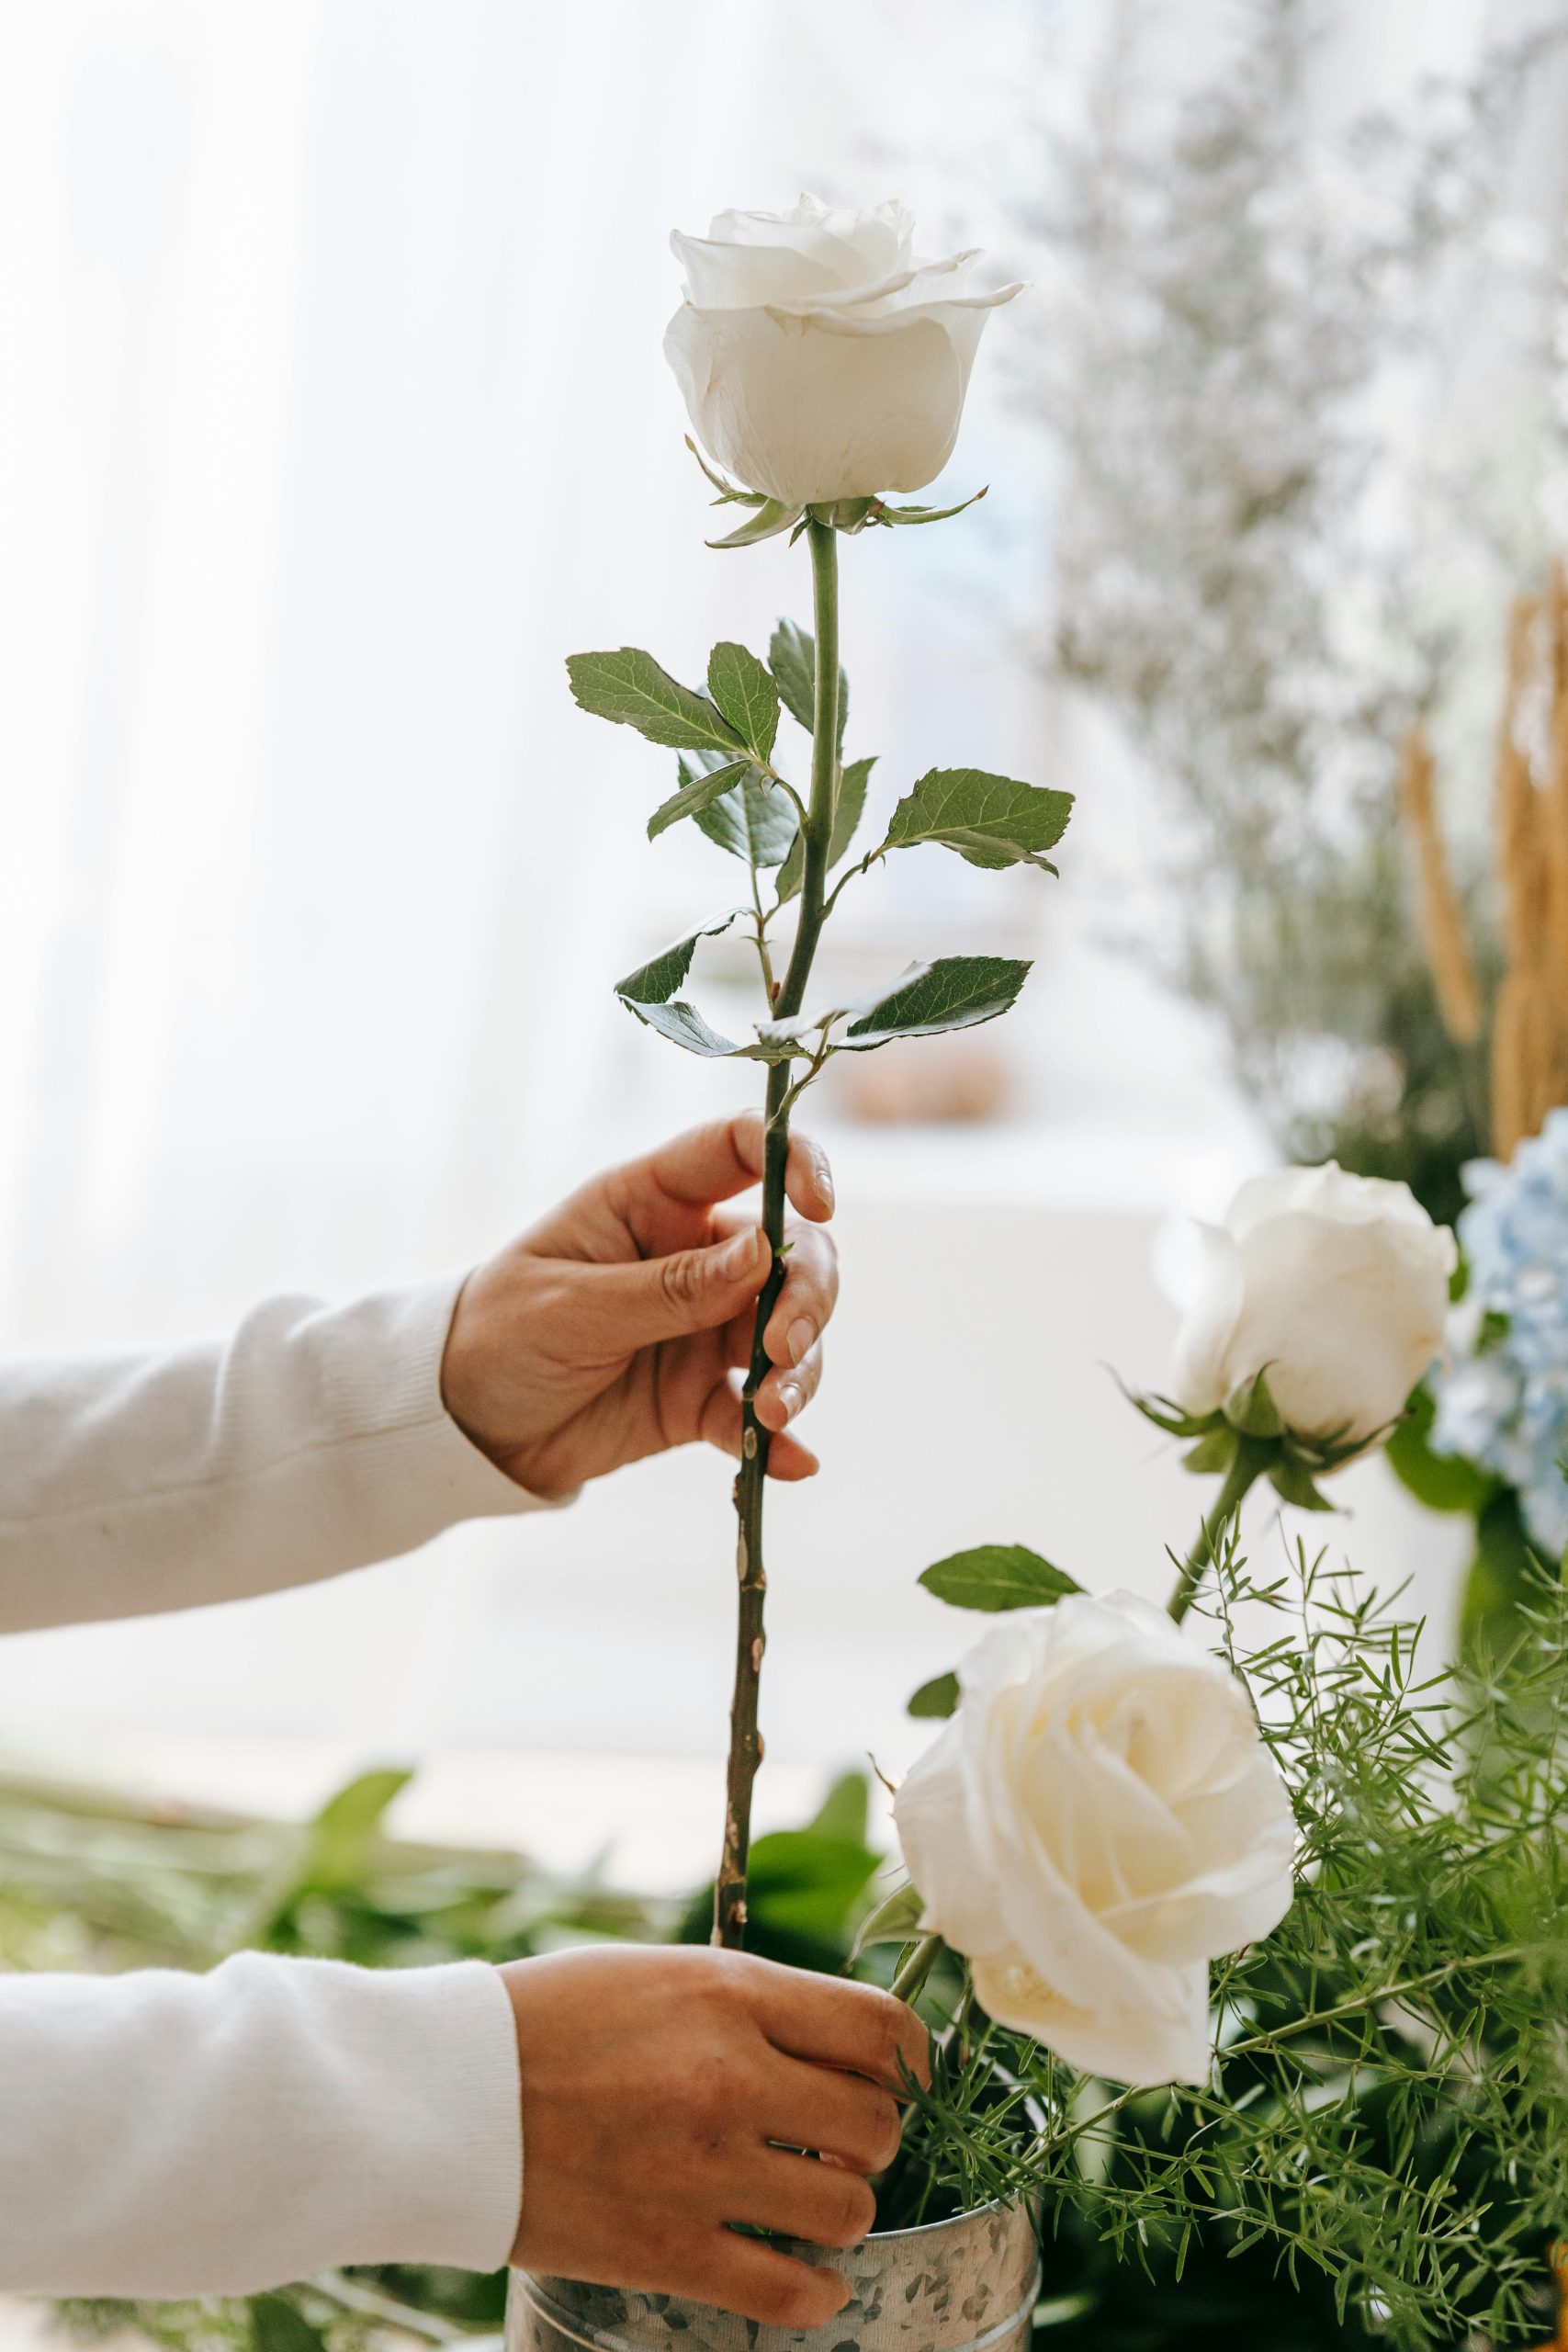
- Start Arranging: Begin with the focal flowers, placing them in the center or at key points. Add filler flowers and greenery around them to create balance and depth.
- Adjust and Refine: Step back and assess your arrangement. Make adjustments to ensure the design is balanced and visually appealing.
- Finish and Care: Once satisfied, place your arrangement in a suitable location and ensure it has enough water. Keep it away from direct sunlight and drafts to prolong its life.
- Practice and Experiment: The more you practice, the better you’ll get. Try different flowers, techniques, and styles to develop your own unique flair.
With these steps, you’ll be on your way to creating beautiful floral arrangements that add a touch of elegance and joy to any space.


Why learning from a florist is best
Years of experience can teach you so much
Training with a florist is best for several compelling reasons:
Expert Guidance: Florists have extensive, hands-on experience and can provide valuable insights into advanced techniques, flower care, and design principles that go beyond basic knowledge. Their expertise helps you master the art of floral design more effectively.
Practical Experience: Florists offer real-world, practical training that includes working with actual flowers and materials. This hands-on experience is crucial for developing skills and gaining confidence in creating various arrangements.
Industry Insights: Florists can share insider knowledge about current trends, sourcing high-quality flowers, and running a successful floral business. This information is invaluable for both aspiring florists and those looking to enhance their existing skills.